Gardena pipeline for automatic garden irrigation

Gardena Pipeline

The water pipeline is an important element for automatic garden irrigation. Gardena offers a solution that makes this easy and reliable. Thanks to the “Quick & Easy” quick connection technology, the Gardena pipeline can literally be relocated “in no time”. With the various laying modules, the pipeline adapts flexibly to the conditions of the garden. Pipe assembly as well as subsequent extensions and modifications are extremely easy to implement: put the pipe and connector together – turn – done.

When assembling the pipeline, it’s a good idea to take a closer look how it works. The pipeline consists of the pipe with a diameter of 25mm. With a hand saw or a special pair of scissors you can do it. The laying tube can thus easily edit and bring it to the right length. It is important to have a clear cut at the end of the pipe. In order to connect the different Gardena blocks with the laying pipe, push the laying pipe approximate 6cm into the building block. Here is an O-ring after about 3cm to overcome. This creates a watertight connection. In my blog Gardena connection test, I tested connection strength of the Gardena pipeline times.

As a laying pipe, Gardena pipe provides three different lengths of 50m and 25m with a diameter of 25mm.

You can use the pipe with an operating pressure of up to 6 bar. Long-lasting durability is ensured by the high-quality material used to make the laying pipe. Thus, it is UV-resistant, opaque and resistant to aging and weathering. Before installing it is an advantage to roll off the roller and put it in the sun, so it is easier to work with the pipe. When setting up the Gardena pipe, please make sure that no dirt or earth enters the Gardena pipe. Here it helps, the ends in the construction phase temporarily with a Gardena tail article no. 2778 to provide.

Gardena pipeline connections

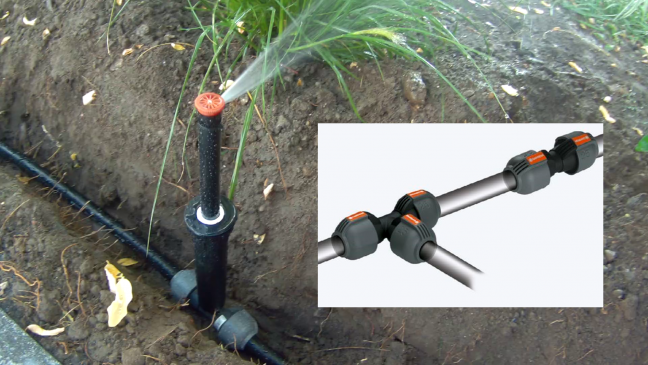
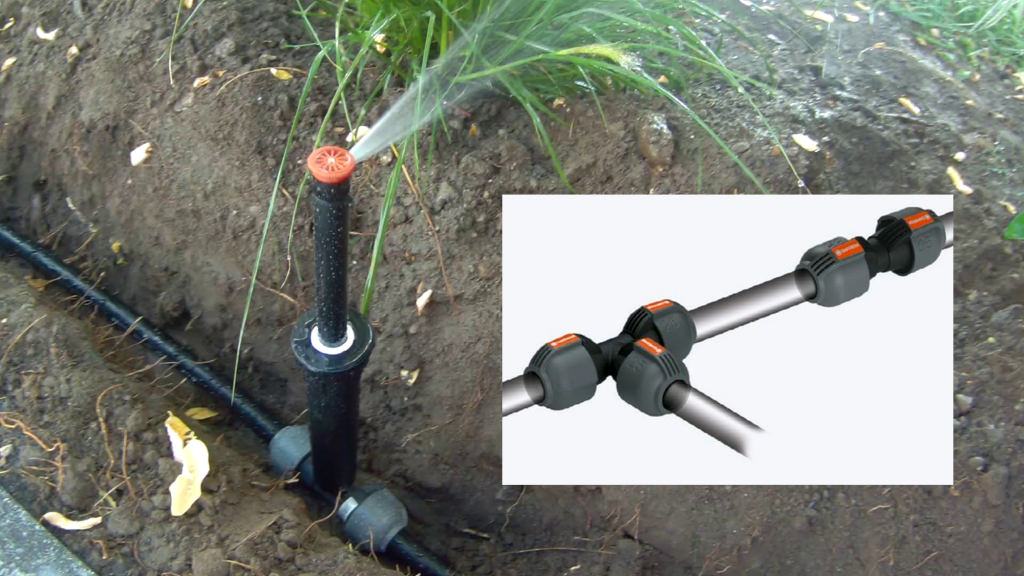
For the possible pipe connections, Gardena offers the following components with 25mm diameter. This can be used to make installation pipe extensions, T-piece or L-piece directional changes, or pipe end terminations.

When you are living in a area with cold winter, frost protection must be considered. Therefore Gardena offers drainage valves. Add the drain value at the lowest points of the individual Gardena pipeline. The drainage valve open automatically when the water pressure is less than 0.2 bar, and thus empty the respective pipe. I have described the installation of these drainage valves in the blog “Drainage valve”. The drain valve can install in the pipe with a T-piece or at the end of the pipe.

Gardena sprinkler connections

Various connecting parts are available for installing the sprinklers in the pipeline. All these are suitable for the 25mm Gardena pipeline. However, it must ensure during planning that the internal thread of the sprinkler matches the connecting element. Gardena provides ½” and ¾” external threads. Thus, the Hunter sprinklers can screw fit on the fasteners. The Hunter Sprinklers also have ½ ” or ¾ ” internal threads.

Use the connection elements to connect the Gardena pipeline with Hunter sprinklers for the pipe run, in the corner area or at the pipe end.

Additional information about planning your automatic garden irrigation with the Gardena pipeline are available in my blog checklist automatic garden irrigation or have a look at my project.

You are on my blog: Gardena pipeline for automatic garden irrigation

Assembly Gardena drainage valve

Assembly Gardena drainage valve

When it comes to the winter months, it is important to drain the irrigation system. That means it has to be winterized and the water pipeline has to be de-watered. There are two options for this. First, you can de-water the pipeline with compressed air or, secondly, use a drainage valve . Therefore plan and install it in your water pipeline. Since I do not have a compressor, I decided to use the Gardena drainage valve. Thus, I have assembly Gardena drainage valve in each irrigation strand at the lowest point of the water pipeline.

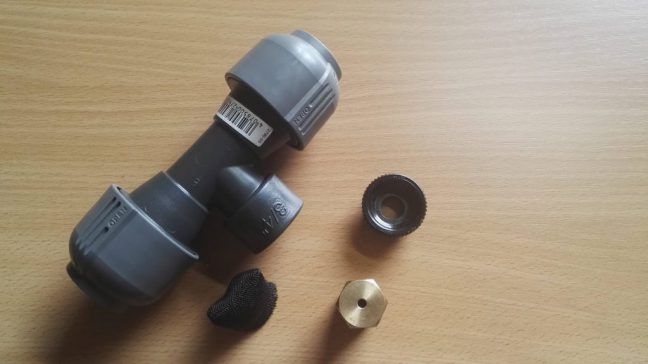
For this purpose, Gardena provides a solution consisting of the following components:

  • Gardena T-piece 25 mm x 3/4″ female thread (Art.-No .: 2790-U)
  • Gardena drainage valve (Art. No .: Drain Valve)

For the installation of the drainage valve at the pipe end, use the connector (item no: 2761-20).

Operation of the Gardena drainage valve

Gardena’s drain valve opens when there is no more pressure in the line. Thus, one can separate the water pipeline from the water source in late autumn and automatically opens the valve and the remaining water can escape from the line. It is therefore no time-consuming blowing out of the water pipe with air pressure. In irrigation line, a drain valve is installed. Install the valve at the lowest point of the pipeline. If the pipeline pressure drops below 0.2 bar, the water can flow out. Therefore place the valve in gravel. Install the drain valve face downwards in a gravel packing of 20 x 20 x 20 cm of wash coarse gravel (min 8 mm Ø).

To check the function of the drain valve, it can be installed in the valve shaft. For this purpose, different products are offered on the market such NDS 111BC Standard Series Round Valve Box with removable ceiling

You can find more information about my automatic garden irrigation with products from Gardena, Hunter and Homematic in my blog.

You are on my blog: Assembly Gardena drainage valve

Garden irrigation with Hunter or Gardena

I have been operating my garden irrigation for several years now and it has done an excellent job in the great summer of 2018.

In my garden irrigation I use the products of Hunter and Gardena. In this blog I would like to explain the reasons for my product decision. These are my own experiences and opinions.

Sprinkler – Hunter or Gardena

Deciding for my opinion were our holidays in Florida. All the houses have garden irrigation systems that irrigate the large gardens every night. Very precisely, the pop-up sprinklers have done their job and irrigated the intended area. Predominantly Hunter products were installed there. In various discussions with homeowners, the longevity and low maintenance of the sprinklers has become clear. Even after years of daily use, the sprinklers perform their work precisely and also the spring pressure in the riser of the transmission controller does not diminish. I can also confirm this with my use for several years (no daily use, but very frequent in summer) in the garden.

Based on the experiences from Florida, I decided for the sprinklers from Hunter. I have seen the Gardena sprinkler in the handyman market and read a variety of forum posts about them. Finally, I preferred the Hunter sprinkler product quality.

In addition, I was convinced by the great radius of the Hunter sprinklers and the various spray nozzles for the close range (MP Rotator, Pro-Spray nozzles with fixed sector, adjustable nozzles, special nozzles).

Water Pipeline – Hunter or Gardena

Gardena Pipeline

After the decision of the sprinklers had fallen, I now needed to decide which water pipeline I want to use. There is a big difference to the situation in Florida. In Germany, winter temperatures reach minus degrees and the water freezes in the water pipeline. Thus, drainage is an important issue to protect the pipeline from damage. If you deal with the Hunter water pipeline, you quickly get to the area “blow-out method” when draining. Since I do not have an air compressor, this method was not suitable for me.

The second possibility of drainage via manual valves, which are installed at the lowest point, was the solution for me. Gardena offers an automatic valve for drainage. In the event of a pressure drop in the pipeline below 0.2 bar, the valve opens automatically. In other words, in preparation for the winter, I can disconnect the water supply in the garage from the pipeline and the existing pressure drops. Thus, the water can flow through the Gardena drainage valve into the soil. This has not resulted in any damage to my water pipeline in the last four winters.

Magnetic valve – Hunter or Gardena

Hunter-Mangentventil-PGV-101

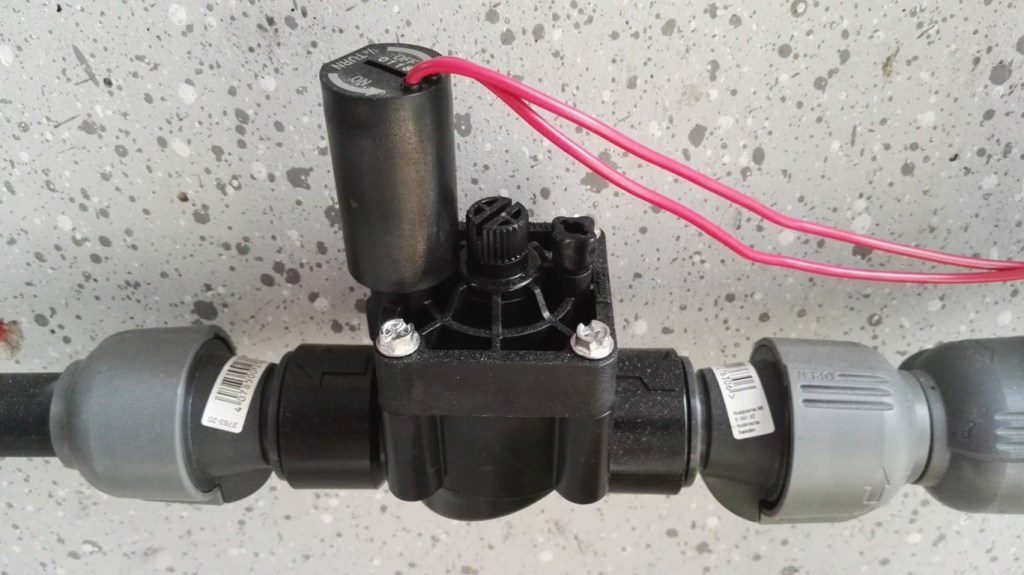
Magnetic valves are required to control the individual pipeline path. Both manufacturers offer systems with 24V AC voltage. Also, the valves of both manufacturers can be disassembled and repaired if necessary. Spare parts can be ordered individually on the internet. In addition, both manufacturers offer a manual opening of the valves to manually activate irrigation. If you do not use the solenoid valves in a building, like a garage or basement, you need appropriate valve boxes to put the valves into the ground.

For my irrigation solution, I have chosen the Hunter PGV-101G, because these valves are cheaper priced.

Planning Tool – Hunter or Gardena

Garden irrigation planning

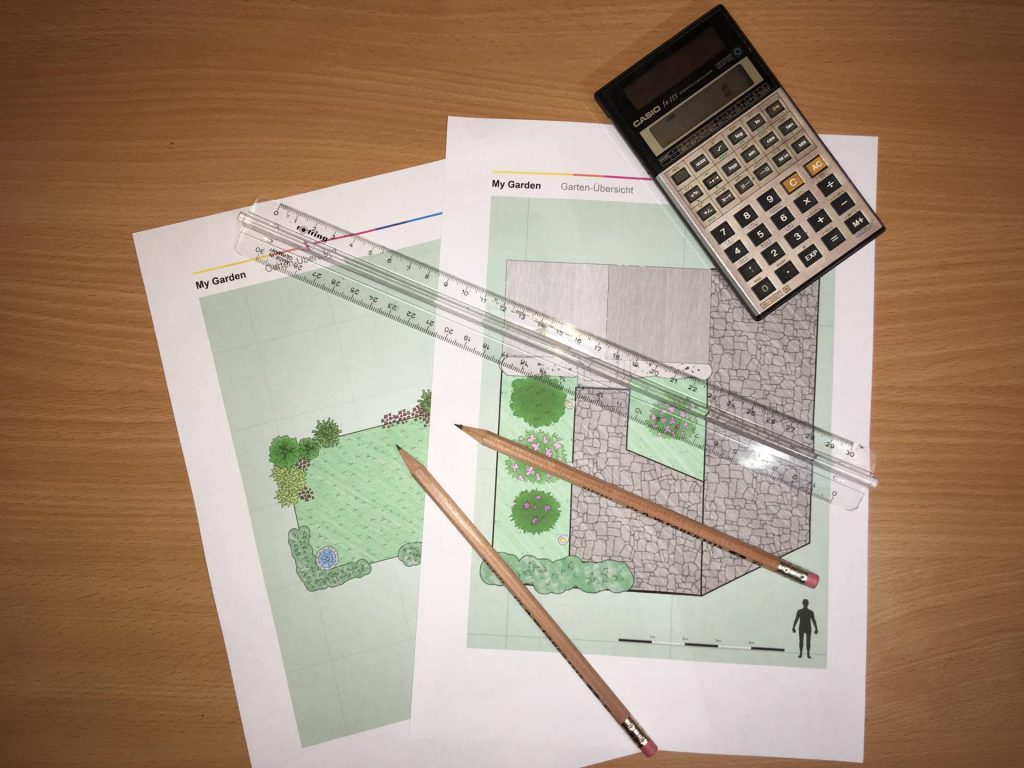
Another reason for using the Gardena Pipeline has been Gardena’s planning tool. The company Hunter provides only a planning manual. With the Gardena planning tool you get a good planning blueprint as well as a list of the required material. I have ordered the corresponding material for the pipeline from Amazon. But int the end the implementation was different than planned. I needed additional connectors (especially L-pieces) that I could buy at short notice in my well-stocked hardware store. But even with those unplanned circumstances, I still managed to install the whole system in one day of work.

You can also find information about planning your project in my blog.

You are on my blog: garden irrigation with Hunter or Gardena